Having created a new tab with all the fields we wanted, let's have a look at the Tabs Toolbar.
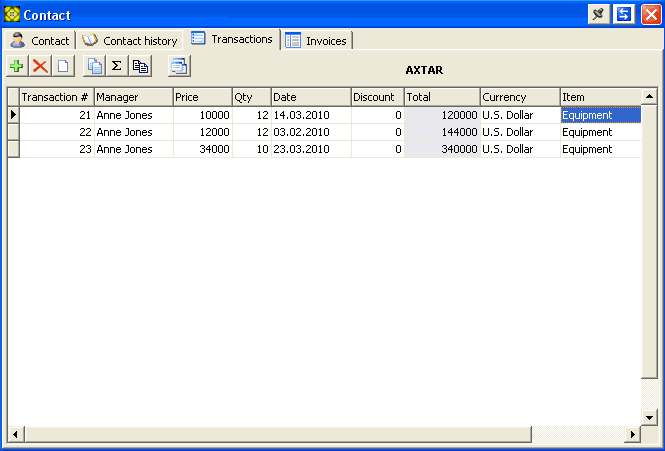
![]() button creates a new row inside
the tab.
button creates a new row inside
the tab.
![]() button removes the currently
selected row (with the cursor inside) in the tab.
button removes the currently
selected row (with the cursor inside) in the tab.
![]() button empties the contents of
the currently selected cell. Applies to cells of the file
type.
button empties the contents of
the currently selected cell. Applies to cells of the file
type.
![]() button
allows for automatic filling of newly-created rows with the contents
of the currently selected row. This helps to speed up the process of
manually entering repeating values into the table inside the current tab.
button
allows for automatic filling of newly-created rows with the contents
of the currently selected row. This helps to speed up the process of
manually entering repeating values into the table inside the current tab.
Using a Row as the Template
Create a row and fill in the cells whose content you want to carry on to newly-created
rows, make sure the cursor is still in this row, then click on the
![]() button.
button.
After you have confirmed your action in the following pop-up window:
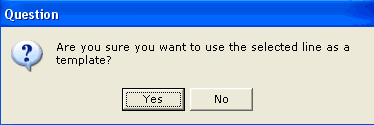
all rows you subsequently create in the current Tab will be created, filled at their creation, with the content of the template row you have selected.
To clear the template, and have your newly-created rows in the current tab to be created empty, clear the contents of one row and use it as the template as described above.
![]() The button opens the window
of the same name.
The button opens the window
of the same name.
Calculated cells allow for displaying a result of automatic calculations involving a formula and data from other cells in the current row and displaying the result, just like in spreadsheet software.
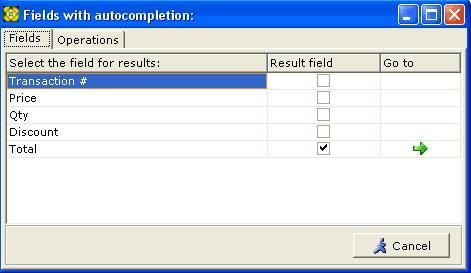
In the Fields tab of the Calculated Fields window above we checkmark the cell which will hold the automatically calculated result, then by either double-clicking on the row, or clicking on the green arrow, or by clicking on Operations tab, we go on to define the formula.
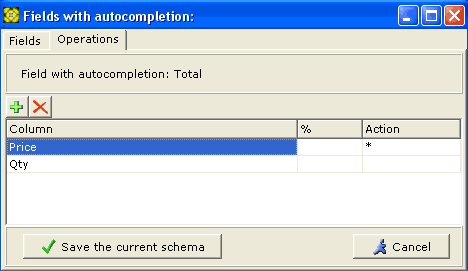
On the Operations tab toolbar:
![]() button adds a new row
button adds a new row
![]() button deletes the currently
selected row (with the cursor inside) in the tab.
button deletes the currently
selected row (with the cursor inside) in the tab.
Clicking in the Column field opens a dropdown list with the list of fields you can take the data of your formula.

In the Operation field, select the arithmetic operation to be appended to your formula.
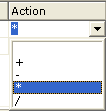
Now again, choose the next field to be appended to your formula from the respective field Column dropdown list. You have got the simplest formula with two operands and the operator between them. To append more and more operators and operands to your formula, repeat the two steps above until you get the desired formula.
If you want percentage to be calculated as part of your formula, enter the
percentage into the % column ![]()

Auto-calculated fields have gray background.
To delete a formula, just clear the respective checkbox in the Fields tab.
If you are not permitted to alter the data in the Tabs at
a given time, you can copy the data into clipboard by clicking on ![]() button.
button.
Clicking on the ![]() button opens the currently selected row in separate window for editing.
button opens the currently selected row in separate window for editing.
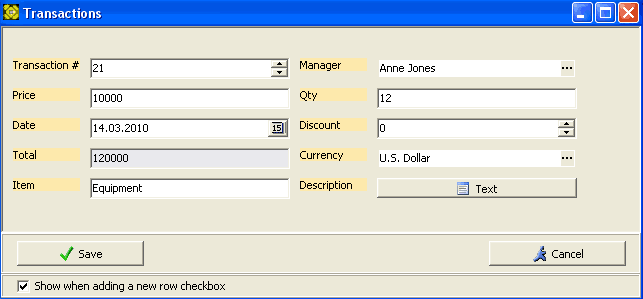
This gives the additional convenience of providing at a glance view of the whole row you are currently editing.
To have this window open automatically when you are adding a new row, checkmark the Show when adding a new row checkbox.